Tips & Techniques
Unlock the secrets to the perfect pastry with our tips and techniques.
How to Prepare
Here’s a simple guide to prepare you for working with our dough:
Thaw to Perfection
DO NOT THAW IN THE OVEN OR THE MICROWAVE.
Sheets and Squares
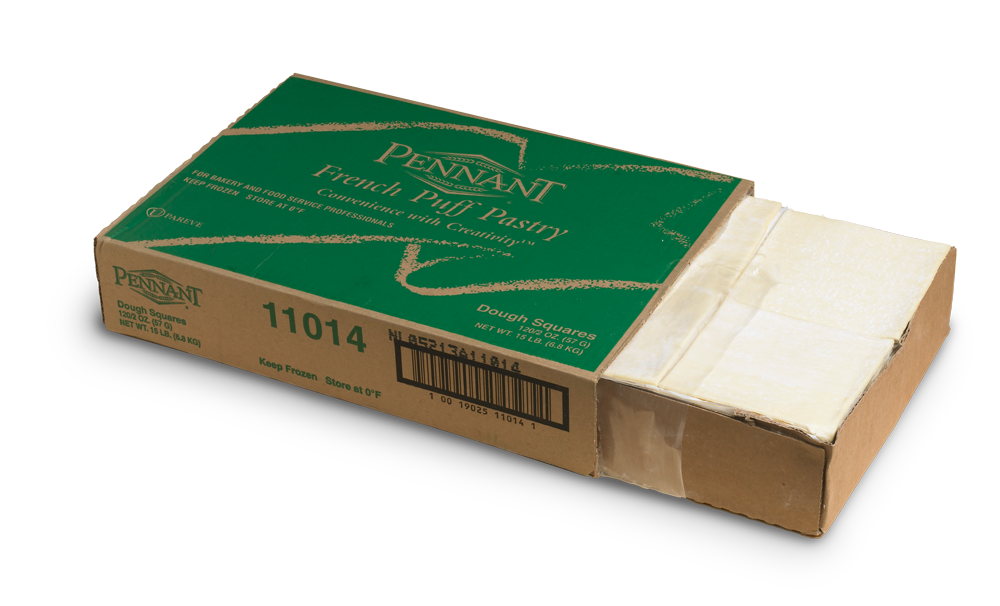
Remove only the desired number of dough pieces from the box. Thaw at room temperature until pieces are easily bendable (5-10 minutes). It’s then ready for makeup into whatever pastry you choose. Or, if using the entire box, thaw the box overnight in a cooler (35°-40°F) for a minimum of 12 hours.
Bulk Dough
Remove dough from box, but leave on plastic overwrap. The preferred method is to thaw overnight in the cooler (35°-40°F) for a minimum of 12 hours. Or, thaw at room temperature for 4-5 hours. With either method, always leave on plastic overwrap to prevent the dough surface from forming a crust.
Dough should be completely thawed before sheeting. If taken directly from the cooler, allow bulk dough to bench rest 30-45 minutes before sheeting. This will bring the dough to an ideal temperature range of 40°-55°F. Above 60°F, dough will be sticky and difficult to sheet. Below 30°F, roll-in fat will be brittle and may damage dough layers.

Essential Tools
Have these essential tools on hand:
- A pizza cutter and/or knife for precise shaping

- A pastry brush to add the perfect finishing touch

- Consider using pizza ‘dockers’ to prevent your puff pastry from puffing up too much
Sheeting
Sheets and Squares
Sheeting is not required for sheets and squares. Some slight stretching of dough may be required during makeup steps depending on the particular item.
Bulk Dough
DO NOT UNFOLD THE DOUGH.
- Cut one 15 lb. piece of dough in half. Work with one 7 ½ lb. piece at a time.
- Lightly dust the bench and dough. Use a heavy rolling pin or mechanical sheeter.
- Begin sheeting dough lengthwise, always from the middle towards the edges.
- Next, sheet at right angles, again working from the middle to the edges.
- Continue alternating directions to produce a uniform thickness of ⅛″.
- Lift dough from the table and allow it to relax.
- Rest dough for 5 minutes.
- Brush off excess flour and cut dough into desired size pieces.
Tips When Using a Mechanical Sheeter
Use sufficient flour for dusting, especially between dough and sheeter belt. Avoid tearing dough with the rollers as it may damage lamination. Reduce puff pastry dough to desired size with no less than 5 passes through the sheeter.
Tips
- Puff pastry dough is best used when crafting shapes that suit your vision. It makes shaping easy thanks to its pliability.
- For best results, remember to add ventilation holes where necessary, ensuring the pastries rise to perfection.
- For a golden finish, brush your pastry with an egg wash.
Puff Pastry Dough Tips
How to Store
Our Pennant Puff Pastry dough is conveniently packaged, making it easy to store.
- Simply keep it frozen (0°F or lower) to ensure optimum performance until you’re ready to get creative in the kitchen.
- Use the thawed dough within 48 hours to ensure that it’s at its finest.
- For specific guidelines, always follow the specific product instructions provided.


